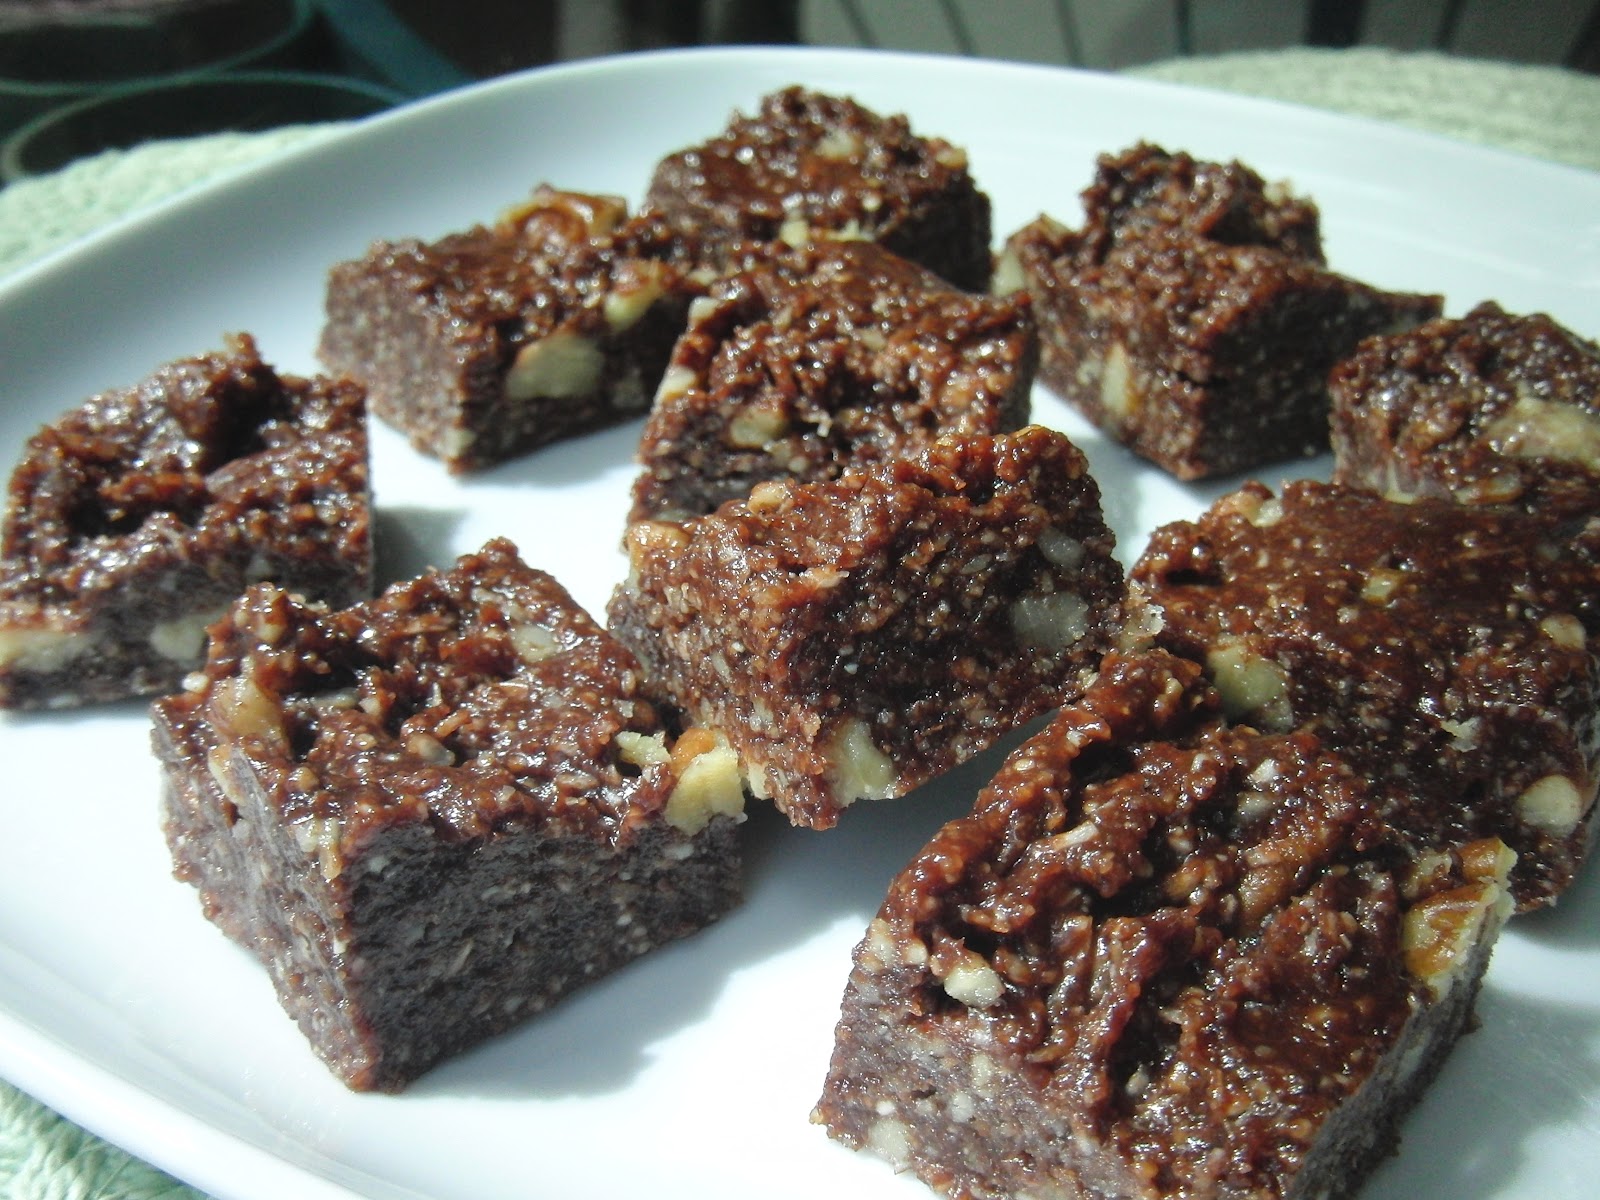
- 2 tablespoon agave nectar
- 1 tablespoon cinnamon
- 1 tablespoon grape seed oil (I used Wildtree)
- DIRECTIONS:
- Combine agave, cinnamon and grape seed oil in a measuring cup or small bowl.
- Set aside.
- Muffin Mixture:
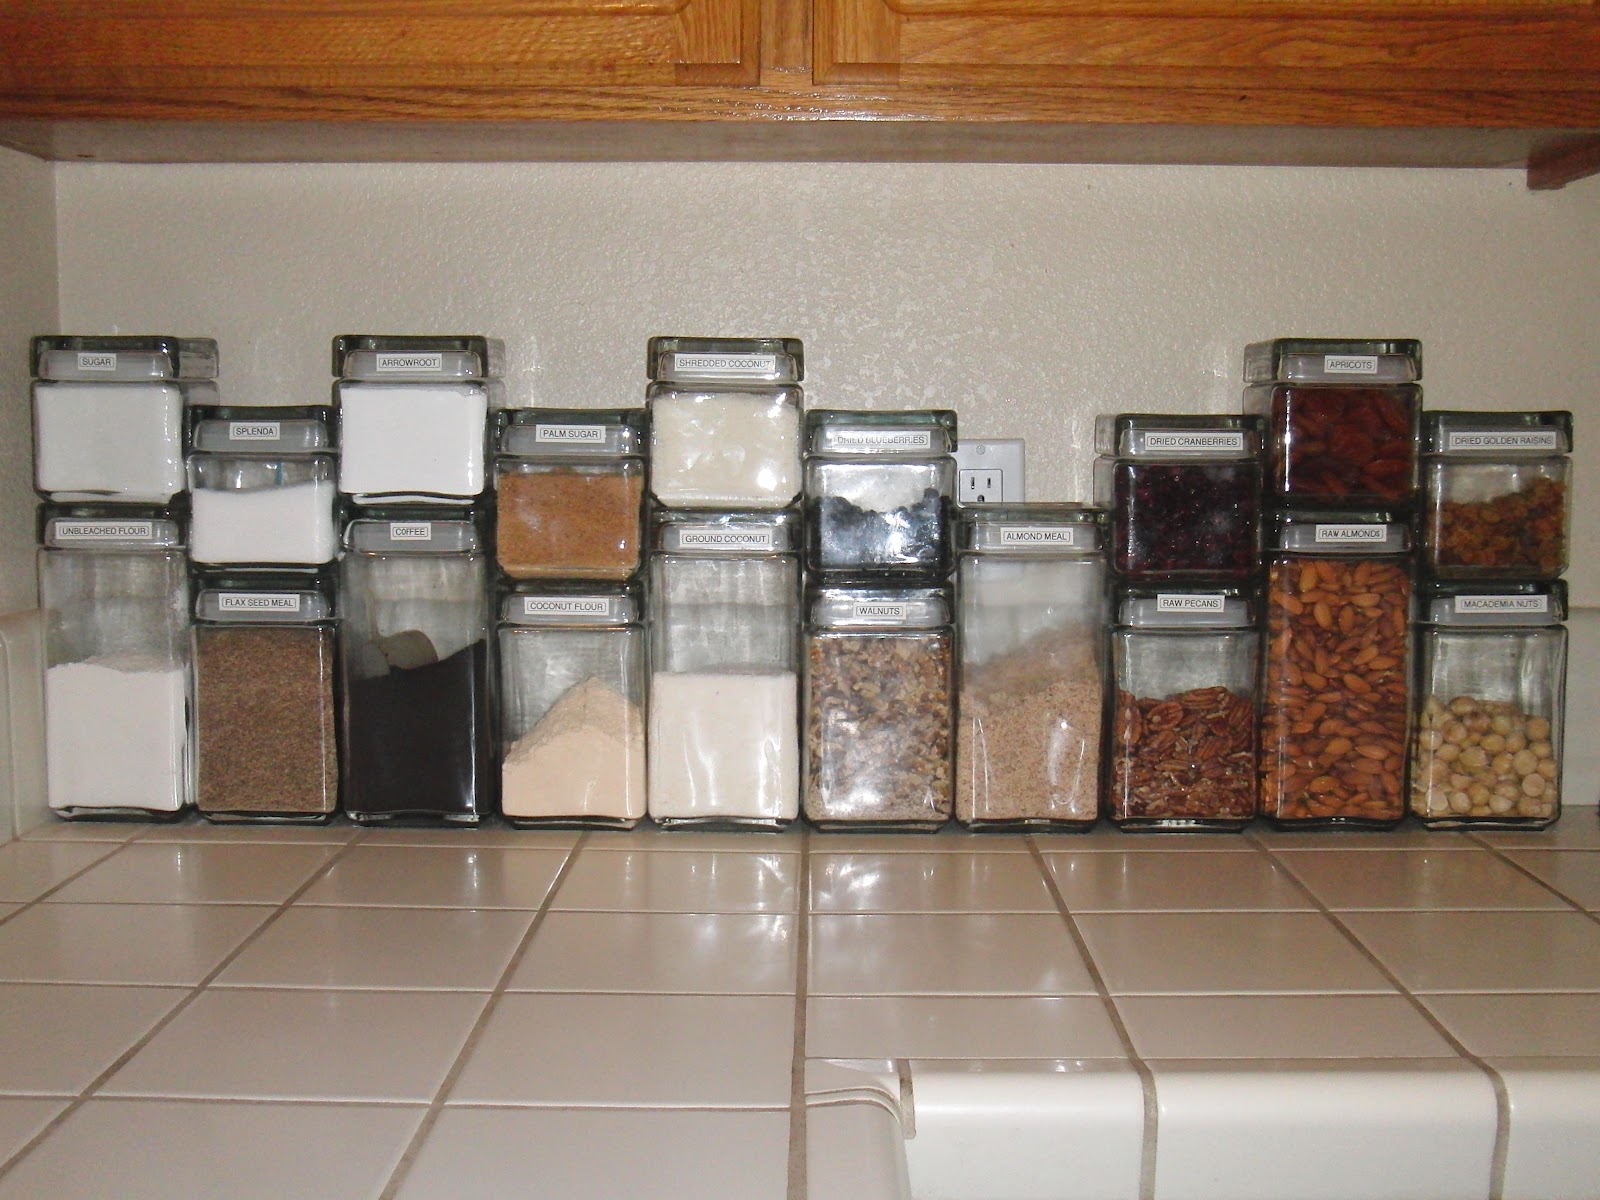
- 1 cup blanched almond flour
- 2 tablespoon coconut flour
- ½ teaspoon baking soda
- ¼ teaspoon celtic sea salt
- ¼ cup grape seed oil
- ¼ cup agave nectar
- 3 eggs
- 1 tablespoon vanilla extract

- DIRECTIONS:
- 1. Preheat oven to 350 degrees.
- 2. Combine almond flour, coconut flour, baking soda and salt in a medium sized bowl.
- 3. In a large bowl combine oil, agave, eggs and vanilla. (I used my immersion blender)
- 4. Blend dry ingredients into wet and spoon about 1/4 cup into greased or lined muffin cups. (I use my MISTO sprayer to lightly spray grape seed oil into silicone cups.)
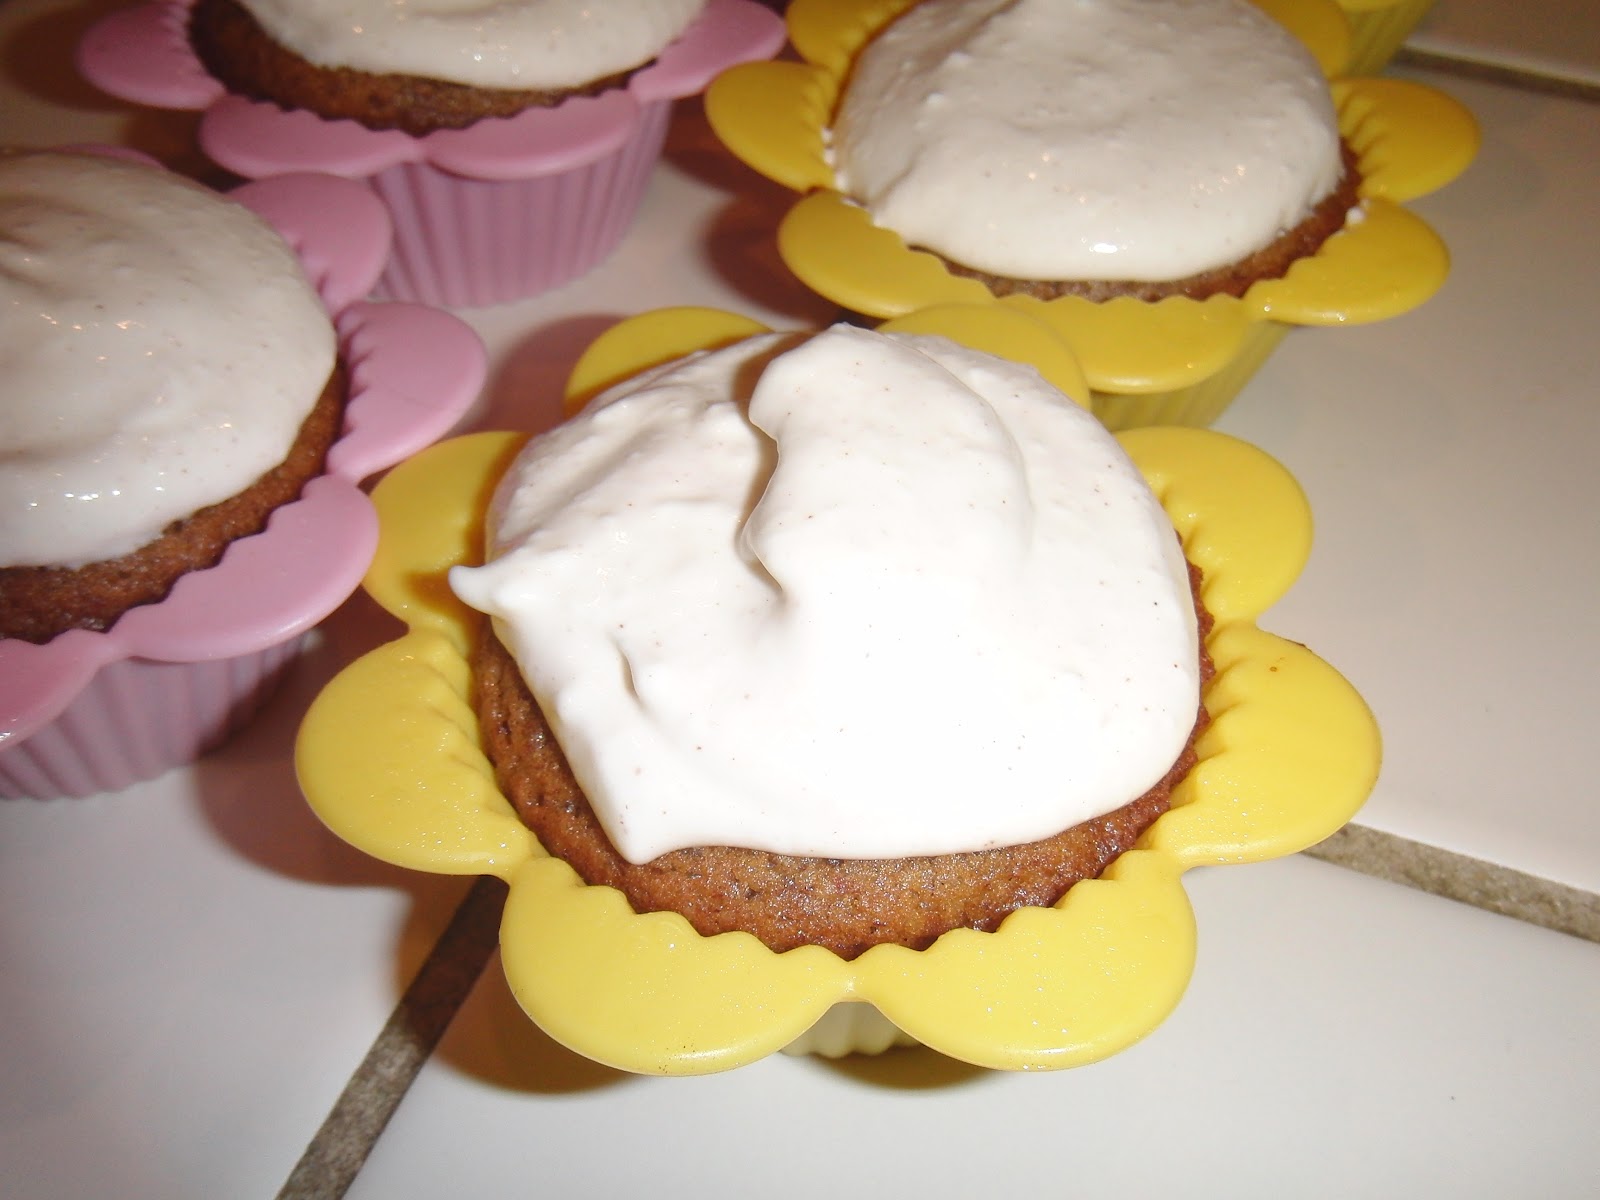
- 5. Spoon cinnamon topping onto the muffins.

6. Bake for 12 - 14 minutes on center rack of oven.

- 7. Cool completely before frosting them with Creamy Cream Cheese Frosting
Makes 9 - 10 muffins
Creamy Cream Cheese Frosting
4 ounces Cream Cheese, softened to room temperature
3 tablespoons organic Agave
3 tablespoons Half and Half (The recipe calls for heavy cream, but we didn't have any. Half and Half works just fine!)
A dash of Cinnamon for good measure!

4 ounces Cream Cheese, softened to room temperature
3 tablespoons organic Agave
3 tablespoons Half and Half (The recipe calls for heavy cream, but we didn't have any. Half and Half works just fine!)
A dash of Cinnamon for good measure!

- To make frosting combine cream cheese and agave in a medium bowl until well blended
- Whip in cream until frosting is nice and thick
- Spread over Cinnamon Bun Muffins
- Serve